
Google maps is a modern day encyclopedia of information that most of use every day to get around, check traffic, plan a vacation, get public transportation information, and so much more. One of the things that I find most useful on Google maps is location photos. It’s so useful to get a feel for an area, or an aerial view of the surrounding area before going somewhere new.
One of my latest hobbies that I’ve been actively pursuing is snapping 360 degree photos of a location with my DJI Mini 3 pro and uploading them to the map app for others to enjoy and use.
So, you might ask, how do I take a 360 degree photo with a DJI drone for Google maps. It’s quite easy.
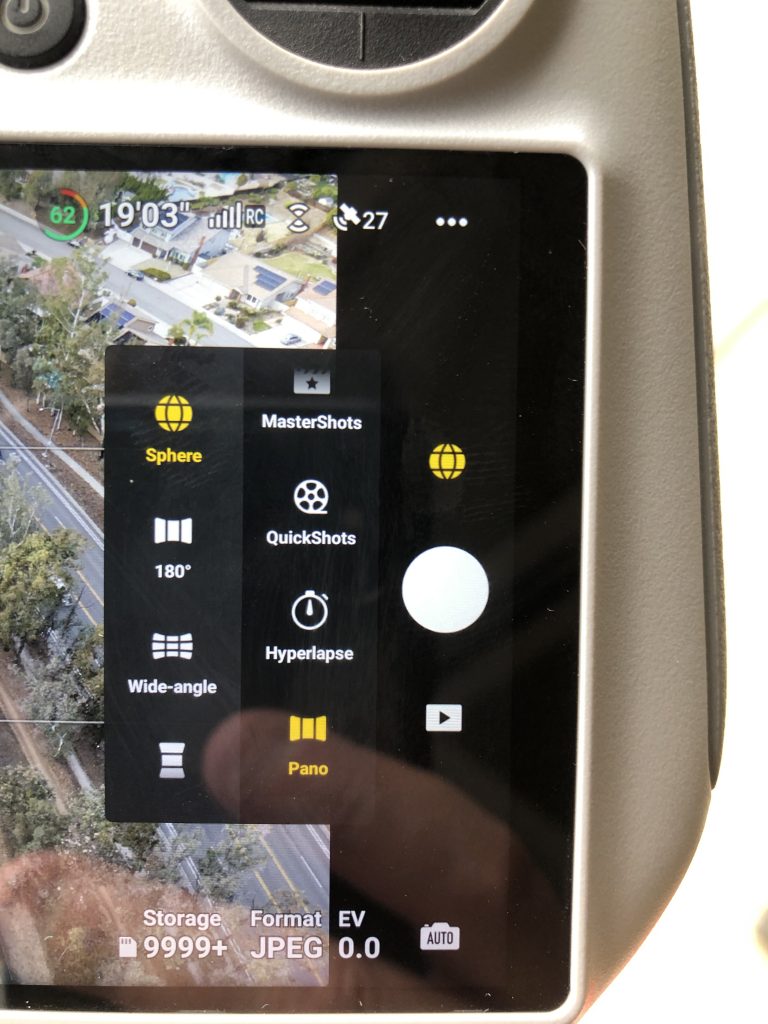
Once your drone is up and running, navigate to the Pano -> Sphere setting from the photo menu options. I like to position my drone approximately 125 – 150 feet above my target, and point the camera down at something interesting from that area. For example if it’s a public park you want to photograph, you might want to place a feature from that park such as the playground or a fountain in focus before you start snapping.
Press the ‘capture’ button, and wait. Your 360 creation is on the way. A 360 sphere photo is actually a stitched-together collection of a lot of other photos. The drone software takes care of this stitching so all you have to do is wait for it to finish.
For the first 50% or so of the time it takes to create this photo, the drone is taking photos. The second 50% is reserved for the stitching process. When your drone is finished taking the shot, you can view your photo in preview mode from the drone controller. Your photo is now ready for uploading to Google maps.
Having difficulty uploading to Google Maps? I was too. Here’s how I do it.